Securing Your Homelab: SSH Access and Secrets Management with YubiKeys, 1Password, and Ansible

It’s been almost a year since I wrote about my home lab’s network re-architecture. Since then, things have changed and the lab is still a work in progress. But that’s the beauty of having a home lab - it’s a constantly evolving environment where experimentation and learning are the norm.
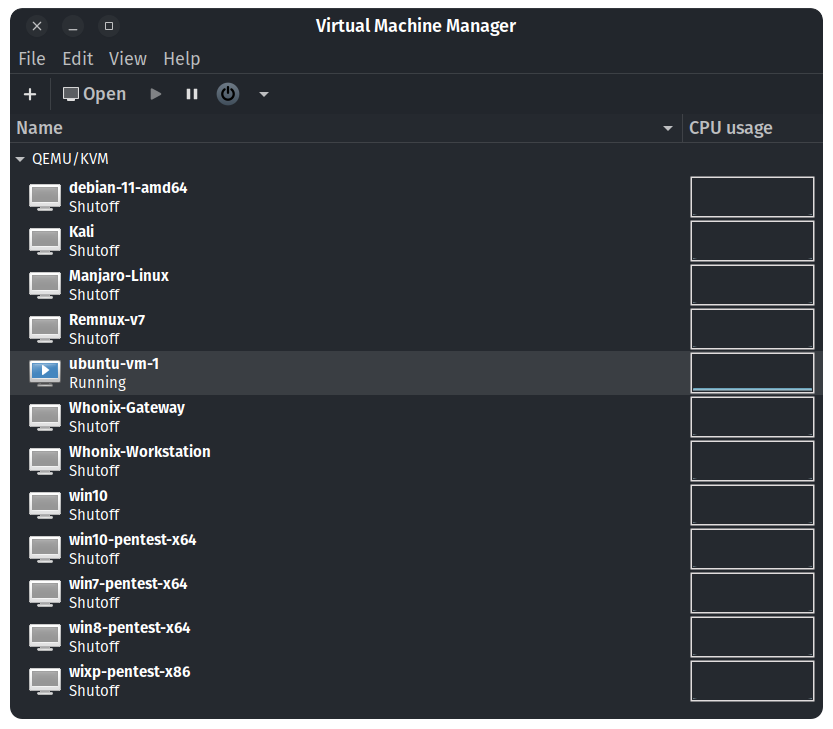
Like many other home lab enthusiasts, I rely heavily on virtualization to conduct experiments. I mainly deploy virtual machines (VM’s) in two locations: my personal laptop, a Lenovo X1 Extreme with 64GB of RAM and 6 cores; and my custom-built workstation, which boasts 128GB of RAM and 8 cores. On my laptop, I use QEMU/KVM, a type-2 hypervisor, while on my workstation, I run PROXMOX, a type-1 hypervisor.
For those interested in delving deeper into this technology, I recommend reading up on Hypervisors on Wikipedia.
Over the past two weeks, I’ve been working with distributed systems and applications that require multiple VM’s to run. As a result, I’ve had to provision dozens of machines and manually configure each one. However, I soon realized that I could save a significant amount of time by automating three key tasks:
- Setting up and configuring each machine.
- Establishing a secure way to access the machine.
- Creating a system to rotate user credentials for each VM.
In this blog post, I’ll explain how I tackled these tasks using a combination of Ansible, Yubikey’s (hardware authentication device), and 1Password.
Setting up and configuring each machine
When deploying a new VM, I often need to perform several tasks, such as configuring the timezone, updating and upgrading packages, and installing additional tools. If the VM has a display manager, I like to configure it to bypass the login screen. Most importantly, I always need to install and configure Docker.
To simplify this process, I turned to Ansible. After reading the documentation and becoming familiar with the tool, I created a straightforward playbook that automates all of these tasks.
To run the Ansible playbook I created to configure new VM’s, I simply open a terminal and execute the command.
ansible-playbook -e "HOST={vm-name}" <playbook-name>
This triggers the playbook to run and automates the tasks I mentioned earlier, ie:
ansible-playbook -e "HOSTS=ubuntu-vm" setup-vm.yaml -kK
...
ansible-playbook -e "HOSTS=ubuntu-vm" install-docker.yaml -kK
During my experiments, I limited the ansible-playbook command to a single machine to ensure the automation worked as intended. Once I was confident in the playbook’s effectiveness, I ran it against a group of machines.
For reference you can watch the following video: Safely Limit Ansible Playbooks Execution to a Single Machine.
Establishing a secure way to access the machine
I realized that each time I needed to run an ansible playbook, I had to provide the VM credentials. This approach was neither efficient nor secure, and I knew that SSH keys were the preferred method for accessing the machine. However, there was a problem with that option - if someone gets their hands on those keys, they could easily access everything on the machine. I started researching better alternatives and remembered that I had a couple of hardware security keys lying around that could be a perfect solution.
To derive SSH keys from a hardware security key like a YubiKey, I needed to have the libfido2-dev package installed on my system. After that, I inserted the YubiKey into my computer and used the ssh-keygen command to derive the keys:
sudo apt install libfido2-dev
ssh-keygen -t ecdsa-sk -C "$(hostname)-$(date +'%d-%m-%Y')-yubikey-1"
Please ensure that your Yubikey has a firmware version 5.2.3 or higher if you intend to use the ed25519 algorithm for ssh keys, otherwise you can use ecdsa.
Using a hardware security key added an extra layer of security because an attacker would need both the ssh key and the physical hardware device to gain access to my servers. This made it harder for someone to steal my identity and access my systems. However, losing or damaging my hardware key would result in being locked out of my servers. To prevent this, I made sure to have a backup key and stored it in a secure location, such as a secure box. I also made sure to always protect my main key from theft or damage. By taking these steps, I significantly improved the security of my systems and ensured that I always had access to them when I needed it.
For reference you can read the following article: SSH with YubiKey FIDO U2F Authentication.
After generating my SSH keys with the help of my Yubikey, I decided to automate some additional tasks using Ansible. Specifically, I created a playbook that would:
- Copy the generated SSH keys
- Add my user to the sudoers group
- Install a custom local certificate authority on the machine
- Disable root login over SSH
- Disable password login over SSH
- Restart the SSH service
Once I ran the playbook, I was able to see the results in action. I SSHed into the VM and was prompted to verify my identity using my Yubikey.
Creating a system to rotate user credentials for each VM
The final step was to come up with a simple and scalable solution for rotating the VM credentials. I explored various options, with my primary concern being how to manage the secrets effectively. Quickly, I realized that it was a secrets management problem and began looking for ways to handle secrets in Ansible. I discovered three main options:
- Hardcoding the secrets directly into the ansible-playbook, not a feasible option obviously.
- Use ansible interactive prompts to provide the VM credentials when running the ansible playbook.
- Make ansible grab the credentials from a KMS such as Hashicorp Vault.
For reference you can read the following article: Handling secrets in your Ansible playbooks
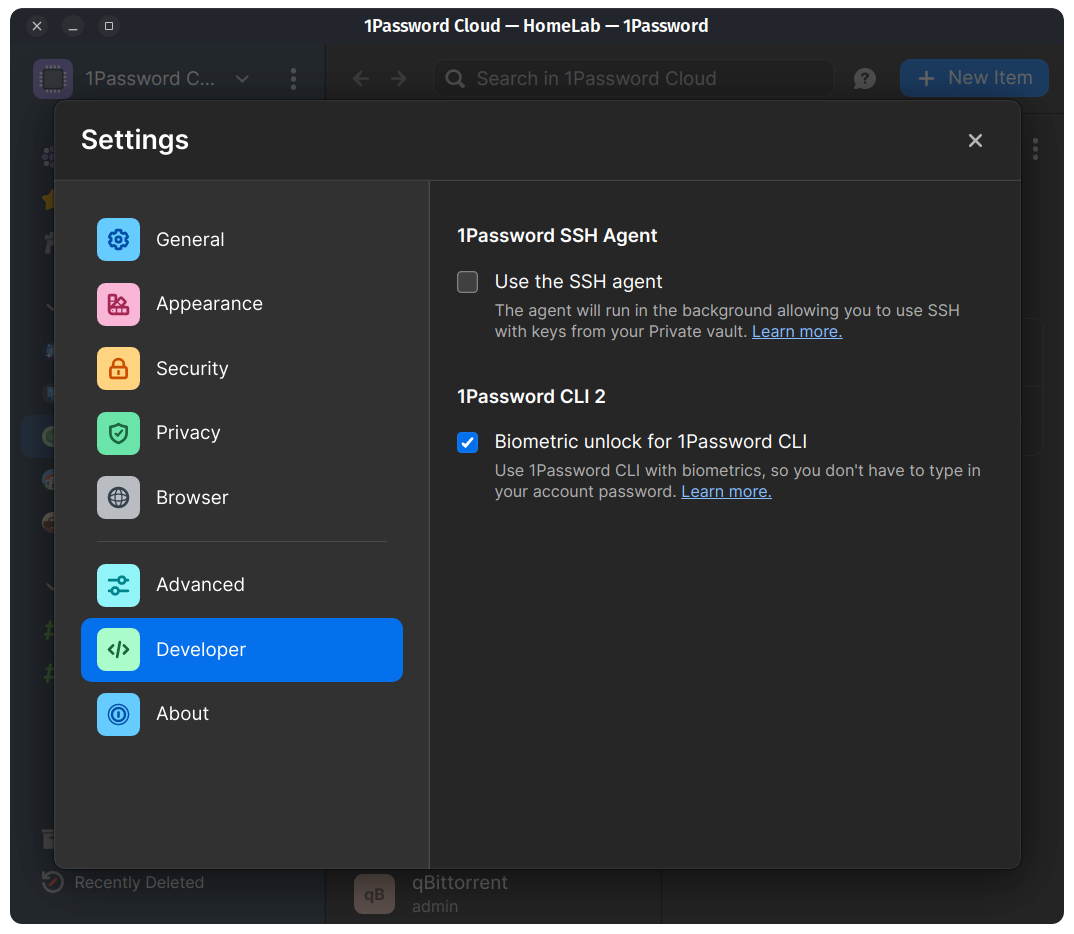
While I liked option three, configuring a KMS seemed like an overkill for my use case. I’ve been using 1Password as my default password manager for years and thought that if Ansible could fetch the credentials from there, it would be perfect. I researched the existing integrations between 1Password and Ansible and found an official plugin called “onepassword lookup”. Unfortunately, it didn’t work well for me, so I looked directly at the 1Password CLI tool, which worked perfectly for my use case. Here’s what I did:
- I downloaded the
**op**binary from the 1Password CLI page (choosing the appropriate architecture for my system) and added it to my executable path. - I created the “onepassword-cli” group and set the correct permissions on the “op” binary:
sudo groupadd onepassword-cli
sudo chown root:onepassword-cli /usr/local/bin/op && \
sudo chmod g+s /usr/local/bin/op
I enabled biometrics authentication on the op binary by following the steps explained here: https://developer.1password.com/docs/cli/get-started/#sign-in
After configuring the op command-line tool and enabling biometric authentication, it was time to put the solution to the test. I decided to create an Ansible playbook to automate the process of rotating the VM credentials.
Final Thoughts
As you see, this article demonstrates the power of combining YubiKeys, Ansible, and 1Password for securing SSH access and managing secrets. Although this solution was implemented as a homelab project, it is 100% applicable to startups and small companies. By leveraging the unique features of YubiKeys, we can enhance the security of our systems and protect against identity theft. Additionally, by using Ansible for automation and 1Password for secret management, we can simplify and scale our operations while maintaining a high level of security.
Ansible Scripts
- Automate Docker Installation with Ansible
- SSH Key Management with Ansible Playbooks
- Securely Manage Secrets with Ansible and 1Password
Happy hacking